As I have said in previous posts, me and my younger sister are attending the scrapbook 2012 Expo here in Sandy, UT this Saturday. We wanted to make it a fun day, get dressed up and also represent pink possibilities. So here is a step by step on how we blinded our black v-neck t-shirts out. We first taped out a rectangular box on the front of the t-shirt which would help us keep the wording and design straight. (and in a proper place for a women’s chest area)

We chose to go with white crystals for the wording and pink ones for the pig face you will see later on.


First things first was testing out a few possible choses for the 2 capital “p’s”. we both designed our own (which are the following 2 shots)
this one is hers

this one was mine

after looking at both of them we designed and choose this one to be the winner.

so after placing the 2 capital P’s We had to figure out a way to line up the remainder of the letters and still be remotely straight and stay within the space.
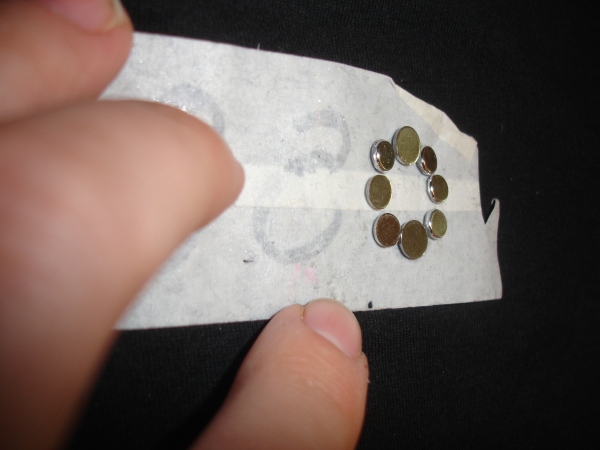
I took to long pieces of masking tape and overlapped them. I then wrote with black marker on the non sticky side.

then flipped it over so we could place the stones.

by placing the stones upside down or color side down. we would be able to turn the whole word over and place on the shirt where it needed to go.


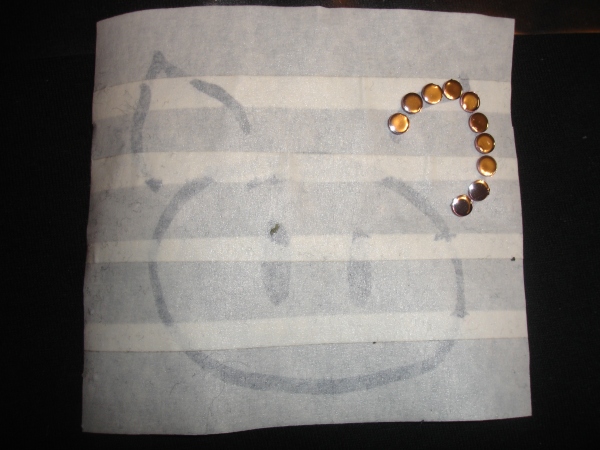
We did the same trick with the pig head.
First drawing the design on the non-sticky side.

then placing facedown the pink stones

once you placed all the stones. using a q-tip spread your glue on the back of all the stones

flip over and place onto the shirt where you would like it

make sure you press down for a minute or 2 before trying to take the tape off.

slowly and patiently start removing the tape.


then we made a pretty pink bow, added glue to the knot and placed on the pigs head

Next we wanted a little more bling. so decided to add some stars with stones from an old costume jewelry necklace I had.

here is what the necklace looked like before i started cutting it apart. it was already missing some pearls. so this was a great way to recycle this piece


I grabbed my pair of wire cutter

and started cutting the links apart


this is what the end result looked like


Final Product. Now it just needs to sit for 24 hours for the glue to cure. We were so excited with the end result.

-
Subscribe
Subscribed
Already have a WordPress.com account? Log in now.