personalized

All posts tagged personalized

Masquerade Party Mask Invitations

Published May 30, 2012 by pinkpossibilities

Today I am going to share some photos of my newest invitation I recently made. They turned out so dang cute.

So start off with a basic mask shape and cut it out.

Once I had the base mask, I then traced it onto a piece of copy paper.
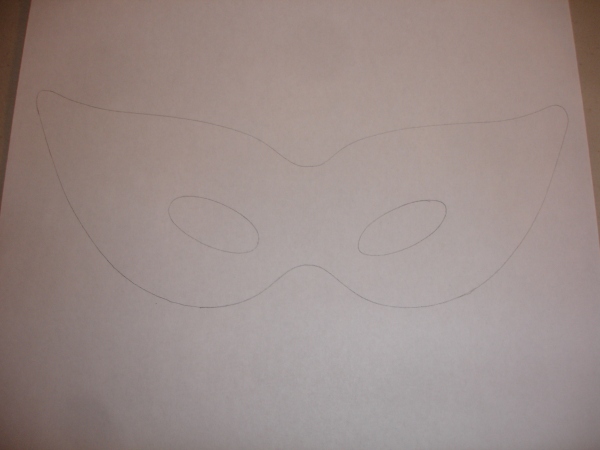
Now because I wanted to make sure they fit the envelopes I have for them. I took measurements and then drew a box around the mask so that I would know how much room I had to work with.

Here is the fun part, the design. I first drew it out in pencil. Then when I was happy with the design I drew it in with a black marker.
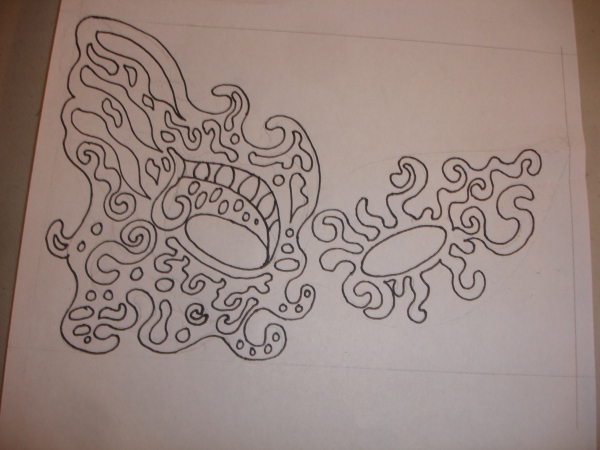
Once the drawing was complete I created a die cut for it and started cutting them out.
This mask had 2 layers of color. the first layer (which was done in lavender) was laid onto the base mask.
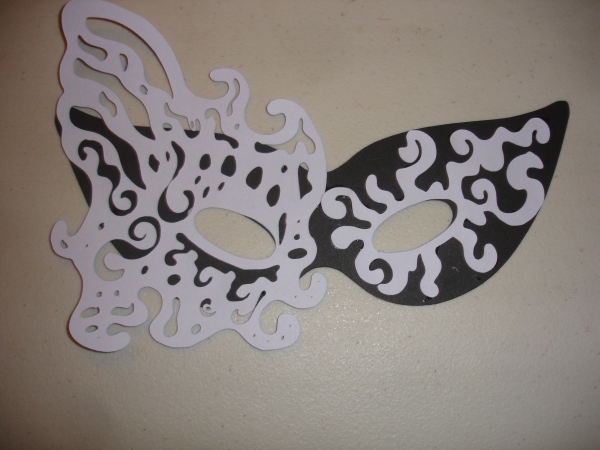
Then the 2nd layer (which was done in a dark purple) was layered on next.

Now you can go crazy or keep it simple. I took gold glitter glue around the eyes. (i know it’s hard to see this step), then added bronzed mica fragments over the right eye (this is made by stampendous) and last but not least added two rhinestones, one on each side.

Ok it wouldn’t be a real invite without a place to put all your info. So I cut out yet another piece which mirrored the base mask but bigger.

Glue your mask onto the white piece and fold over. You can now add your info to the inside.
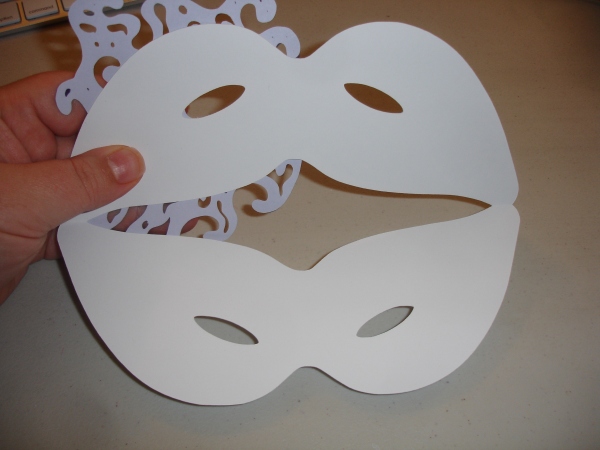
Here is a shot of the final invitation. Isn’t it just lovely. I have had so much fun working on this one.

Super Hero/Princess Party Invitations

Published May 25, 2012 by pinkpossibilities

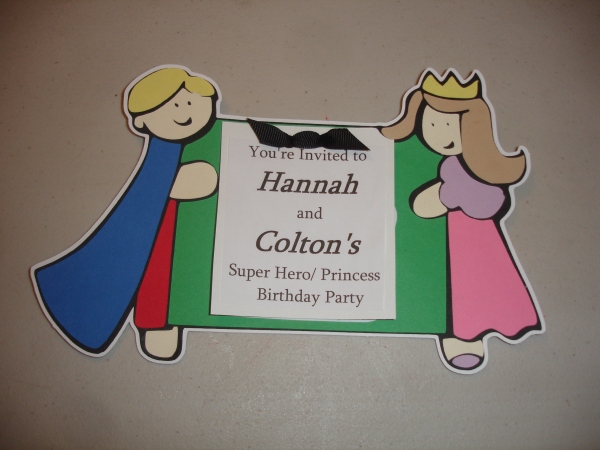
So I was given the challenge to make and design an invite for a combined birthday party. the little boy wants super hero stuff and of course the little girl wanted princess’s. So after thinking about this one for awhile, I came up with this cute design. A little superhero on one side and a princess on the other side of the invite holding the card. and what’s great is that I could change the hair color or skin color to match the birthday kids.

On this one you flip up the top card to reveal more party information.

Our Little Superhero

Our Little Princess

Food for our Pampered Spa Party

Published May 8, 2012 by pinkpossibilities

We had so much fun designing and putting all of our thoughts and ideas that were on paper to life.
It was a spa party so we figured other than the cupcakes we would try to keep it healthy and yummy.
Our color chooses were: Yellow, Green and Orange so that we could incorporate the citrus fruits.

What spa party is great without chocolate covered strawberries. (be mindful though if you decide to make some of your own, that once you dip & cover the strawberries with chocolate they are only good for maybe 2 days top. so the closer to the party time or when you want to enjoy them the better 🙂

I used my circle glass dish and filled it with: orange slices, green grapes, yellow pineapple chunks and orange canteloupe rounds. Spear one with a toothpick and dip it in the fruit dip and you have a party in your tummy.

Cucumber slices. 1 cucumber peeled then sliced and 1 cucumber just sliced. Depending on people’s preference. Or to use on your eyes during your face mask.

Now we have a couple of my cute white ceramic mugs with carrot sticks, celery sticks and yellow bell pepper slices.
we had a Lipton Onion dip for the veggies.

time for dessert: we had yellow cupcakes with a fluffy frosting.

We made a homemade mint lemonade the night before and garnished our glasses with yellow, orange and green striped straws and orange, lemon and lime slices to make the straws.


Funky Car Art

Published May 7, 2012 by pinkpossibilities

I just had to share these photos I took of a car I found parked in my doctors parking lot the other day. It was so weird and funky I just couldn’t help but take a few shots.
this person has either welded or glued all of these items onto the hood and roof of there car.
I’m not sure if this car would be considered street legal.

Pirate Game Photo Tags

Published April 26, 2012 by pinkpossibilities

We decided that we would not only use these photo tags to play the “who am I game” but also to divide our guests into 2 teams for games. So we chose to take characters from the movie Goonies and Pirates of the Caribbean.
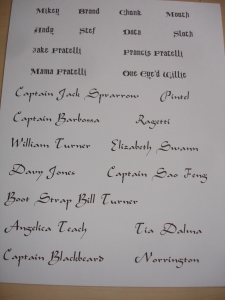
I first typed up all the names using a pirate text and printed onto a white sheet of cardstock paper.

Then using both red and white inks I spotted and smeared color onto the names.


Now cut them out.

Glue them onto a black cardstock sheet of paper and cut around them again. (Leave a little more black on the bottom of the photos for embellishments)

print out photos using the wallet size onto another sheet of white cardstock. Cut around these, mount them on black cardstock and cut around them again also.

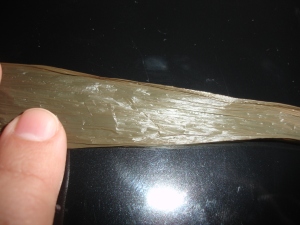
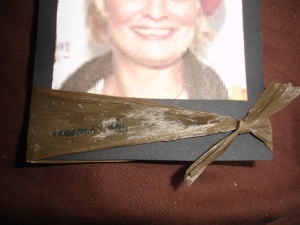
I used a brown/green raffia ribbon.

pull on the raffia and expand it.

Tie around the bottom of the mounted photo and tie into a knot.

Now add the cut and mounted name onto the photo.

Last but not least. adding a safety pin to the back. I used large safety pins to make it easy to pin onto a guest.

Taking a piece of tape. Place it over the pin and tape to the back of the photo tag. you are now finished.

characters that we made are:
Goonies: Mikey, Brand, Chunk, Mouth, Andy, Stef, Data, Sloth, Jake Fratelli, Francis Fratelli,, Mama Fratelli, One Eyed Willie
Pirates of the Caribbean: Captain Jack Sparrow, Pintel, Captain Barbossa, Ragetti, William Turner, Elizabeth Swann, Davy Jones, Captain Sao Feng, Boot Strap Bill Turner, Captain Blackbeard.

Pirate Food Labels

Published April 10, 2012 by pinkpossibilities

Today I made the pirate food labels for my upcoming “Pirate Party”.

First things first I sat down with a notepad and pen and wrote down all of my dishes and sweets I planned on having.  Then I did some research on the web and a lot of thinking to come up with some funny and entertaining names for my food.

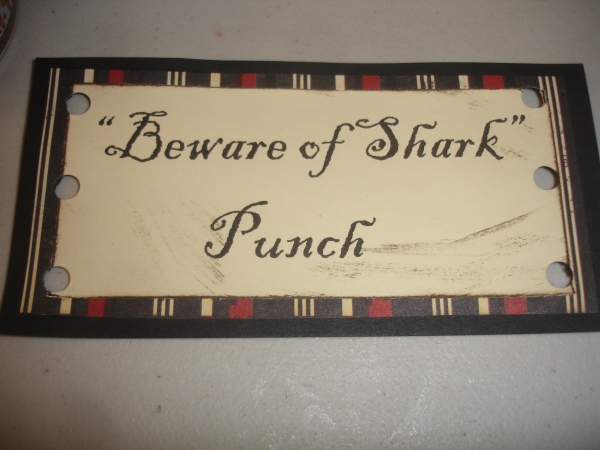
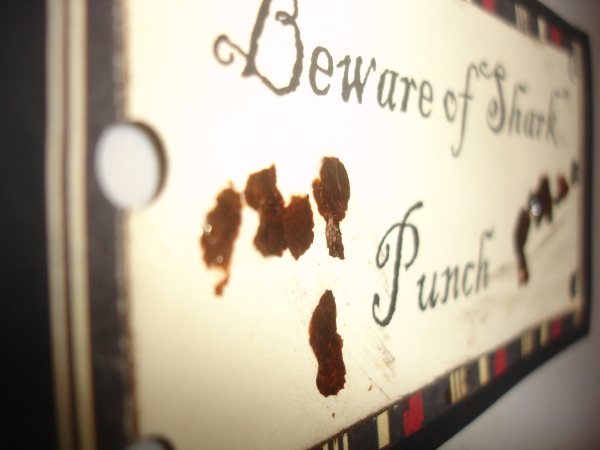
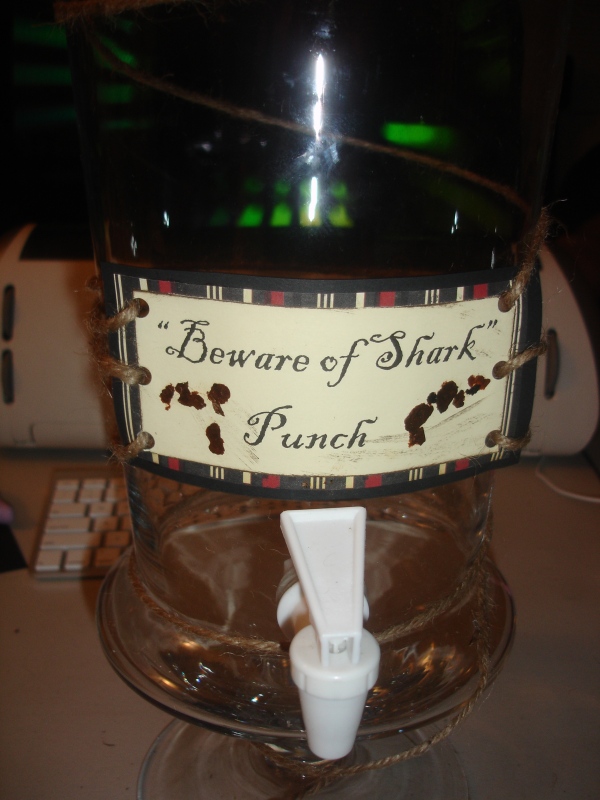
A few examples were: Goonie Dubloon’s, Beware the Shark punch. etc.

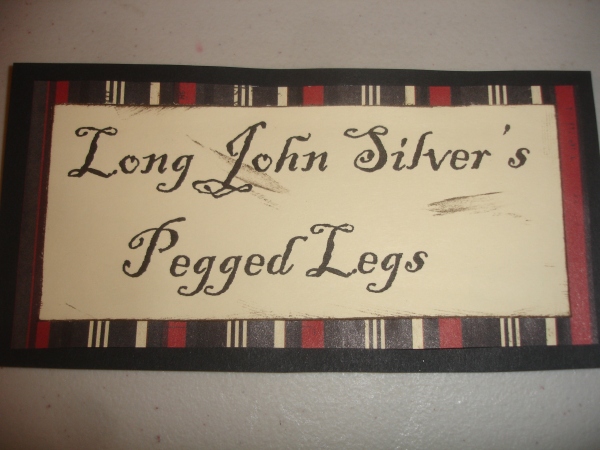
Next I pulled up word on my computer and found a Pirate like font and typed all of the names out and printed them on a cream colored card stock sheet.

I wanted to rough up the edges a bit and make the paper look a little older without having to go to the long process of using teabags to age them.
so I grabbed a Distress Ink Pad. The one I used was Tim Holz’s Walnut stain.

Freshly printed, this is how the label looks:

After applying the distress ink around the edges and scuffing the top a bit, it looks like the label has been around since the days of the Barbary Pirates.


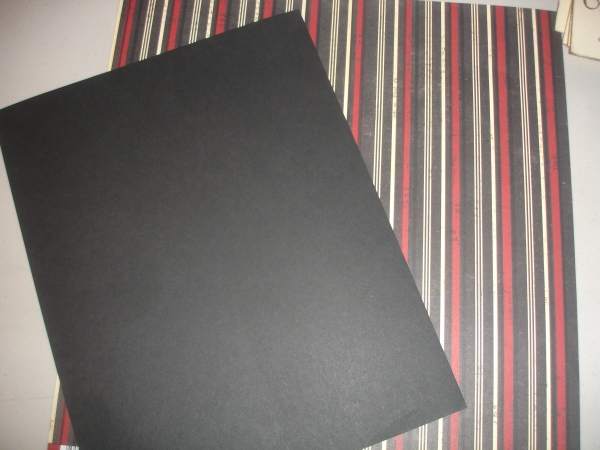
Next it was time to mount each of the food tags onto 2 other pieces of paper to add color and depth. So I used a sheet of black card stock and a sheet of scrapbook paper from Rusty Pickle called Mayflower.

I glued my name sheet to the striped paper first then after cutting around the edges. I then glued in onto the black paper.

My next step was to add holes to each side so that I could attach the label to the container. Now I don’t plan on putting holes in all of them because I plan on putting some of the labels next to the plate instead.

I wanted to add one more touch to my labels so I decided to use bronzed mica flakes from Stampendous. I dabbed a little bit of glue where I wanted to apply the fragments.  After that I used a q tip. dampened a little on one end, to grab the flakes and apply them.


These are some shots of what the label will look like once you have wrapped the twine around the container. This is my apothecary cooler. I plan on having my “Beware the Shark” punch in it. I wanted you to see how the twine is wrapped around the container and holds the label on the front.


And here is a back shot.

Oysters, Oysters Everywhere

Published April 7, 2012 by pinkpossibilities

I was filling on of my orders earlier and had felt like I myself had fell down the rabbit hole and ended up in Wonderland with Alice. My desk was covered with little oysters (from the Walrus & the Carpenter story)


Pirate Invitation’s

Published April 6, 2012 by pinkpossibilities

time to make some scalliwagging Pirate Invtiations
Here is a shot of the finished invitation minus my personal info. so where the white is you should add your address, date, time and either email address or phone number for the RSVP

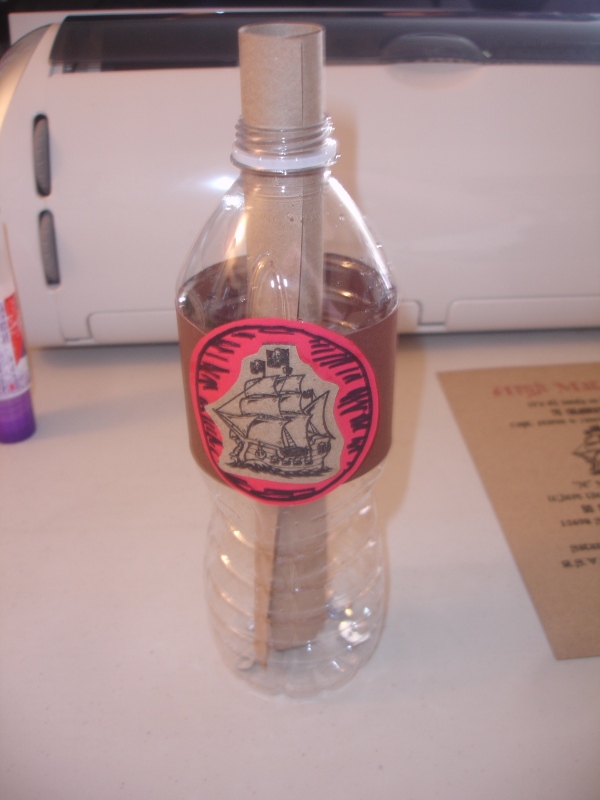
Once I printed out all of my invites onto recycled brown card stock. I rolled one up and inserted into a empty water bottle. I also added some jewels in the bottom of the bottle instead of sand.

now to make a label. take one 2 1/2 round circle, a design (I chose to use the same ship image as on the invite) and a 2 x 8 1/2 in strip of paper.

cut out the image (ship) and glue it onto the circle. I then took a black marker and drew a circle on the circle and added marks.

Attach your circle to the end of the strip of paper.

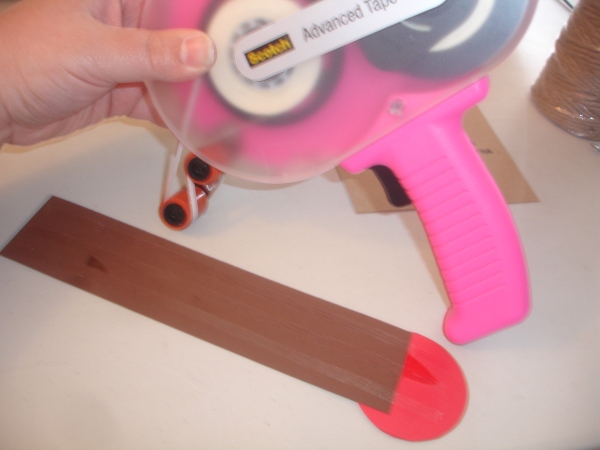
then i used my Scotch Advanced Tape Glider and applied 3 lines down the back of the strip continuing onto the circle.

here is a closer look at that process.

Now grab your bottle and starting on one side, apply the strip all the way around the bottle until the 2 ends connect.


I used Natural Jute;s 3 ply brown twine to the top of the bottle to finish her off.

Here you go. a finished pirate invitation in a bottle.

Hoppy Easter Card

Published April 4, 2012 by pinkpossibilities

I decided to make a Happy Easter card today for someone special. So I gathered some papers that coordinated.
paper I used was: card stock: light green & medium brown… patterned paper: eggs, mosaic and a Hoppy Easter paper.


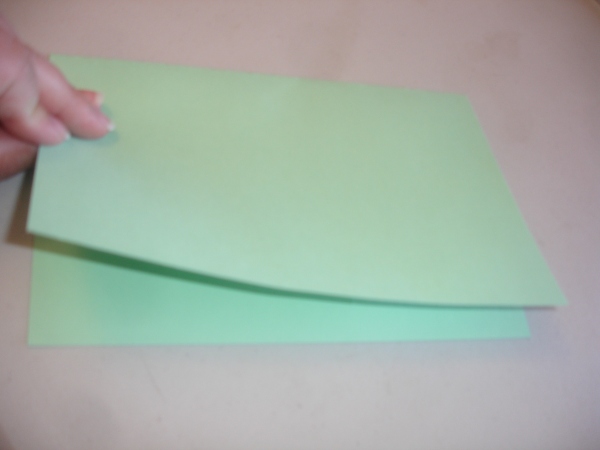
I first took the light green 8 1/2 x 11 card stock sheet and folded it in half to make the base of the card.

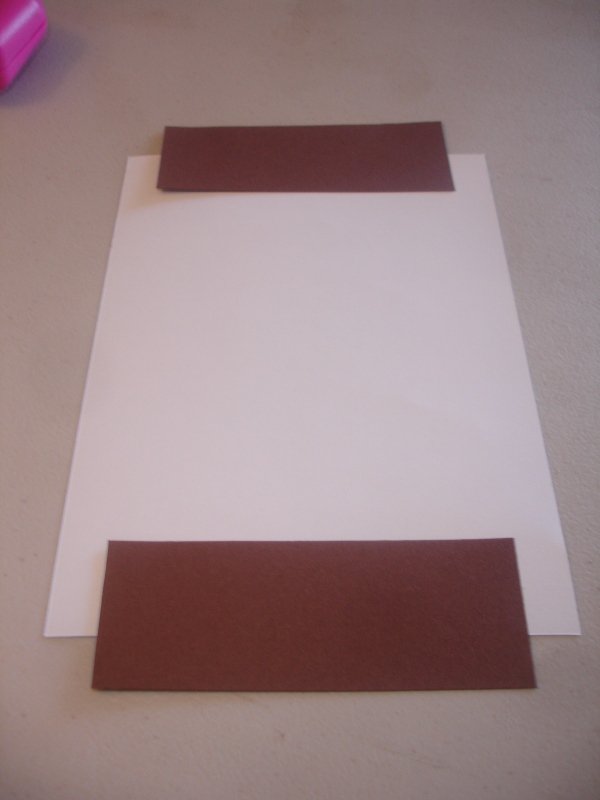
I then cut the background paper to 5″ x 7″ and then cut 2 pieces from a medium brown card stock sheet 1 1/2″ x 4″.

On the backside of the background paper, apply adhesive at the top and the bottom and attach the 2 brown pieces.


Now i grabbed the other sheet of paper that had Hoppy Easter written on it. Cut around both words and then mounted it onto the same medium card stock used before. then again cut around that.

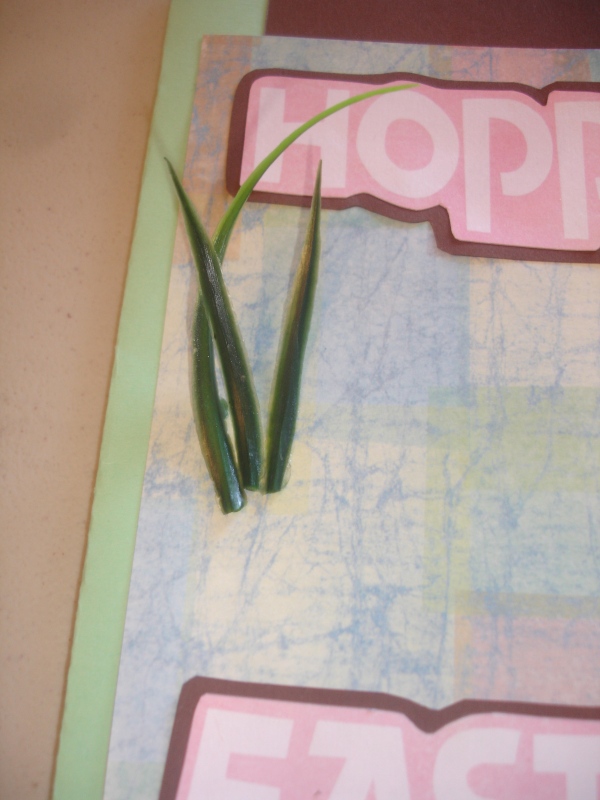
I had some faux grass. and decided that this would add some flare to my card. I cut off 6 blades of grass to use on the card.

using sticky dots I applied 3 blades to one side and 3 on the other.

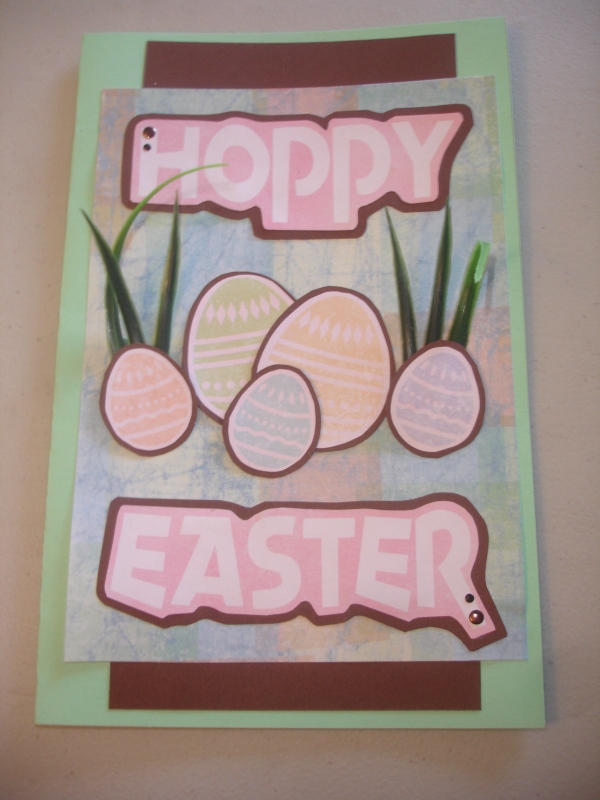
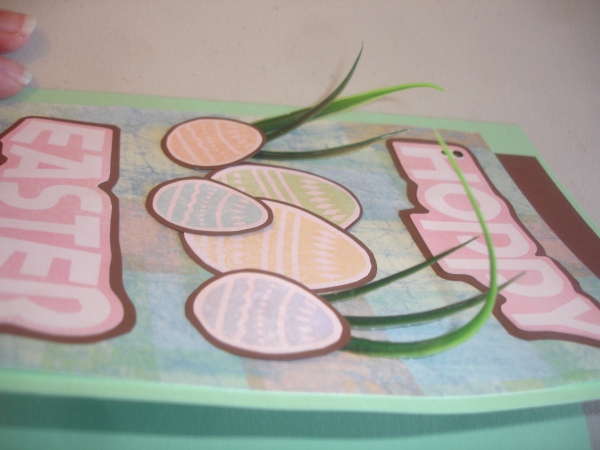
With the last sheet of paper that had eggs printed on it. I cut out 2 large eggs and 3 small ones and also mounted it onto the medium card stock. then once the grass was on. I added the eggs and made sure 2 of the eggs covered the bottom of the blades of grass. I also added a little bling on the H in hoppy and R in Easter.

Here are pictures of the finished card.


Sandcastle Scrapbook Layout

Published April 1, 2012 by pinkpossibilities

During the scrapbookusaexpo 2012 me and my sister chose to experience there VIP seat treatment. this entailed us receiving early entry (even before the early bird shoppers), a free cricut apron, seating in the exclusive VIP area, a make and take class, treats, a VIP host and an opportunity to enter into a layout page contest.

the contest: there were about 5-6 prizes to be rewards. The terms for entering was to submit a summer type scrapbook layout for judging.

I choose a fun array of photos from a terrific beach trip from years ago. Me and the same sister that accompanied me to the expo made a sandcastle on rock away beach in Oregon. Then decided to destroy thus said sandcastle before leaving. 🙂

This is a shot of what the 2 page layout looks like side by side (Sandcastle To destroy or not to destroy)

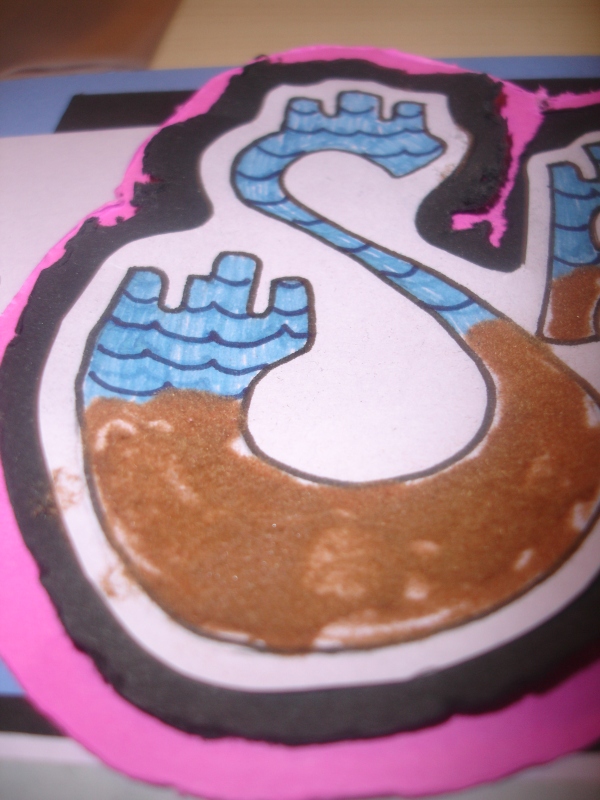
Here is my hand drawn sandcastle title. After I sketched it out with a pencil, I took my black marker and outlined it. Then taking 2 different blue markers filled the top portion in with the lighter blue and made waves with the darker blue. For the bottom I used doodlebugs design inc’s crushed flock, color light brown. To apply the flock. I applied liquid craft glue evenly where I wanted the flock, sprinkled it on top and shook the lose remaining flock onto a spare piece of paper and put back into the bottle.
To make the title pop even more I glued the title onto a piece of black card stock and used my Imaginise distresser around the edges. Then I chose to do it again but mounting it to a Fushia piece of paper this time and repeating the process.


I brought along with me some of my handmade die cuts. The little oysters from Alice in Wonderland are ones I make and sell on my Etsy site. click here. I thought adding these cute little oysters would be perfect for a beach layout.


Here are some of the products I used to make this layout. want 2 scrap black pearl bling, Imaginisce Destressor, Doodlebugs Design crushed flock, and my favorite adhesive runner Scotch advanced tape glider.

If you have any questions on how I made this page. Please let me know.